When it comes to giving your home a fresh new look, painting is one of the most effective and rewarding ways to transform its appearance. However, achieving that flawless, professional finish requires more than just a brush and some paint. Properly prepping your walls is the secret to ensuring that the final result is nothing short of stunning. In this comprehensive guide, we’ll walk you through the essential steps to prepare your walls for painting, ensuring that your efforts yield a finish that’s both beautiful and long-lasting.
Step 1: Clear the Space
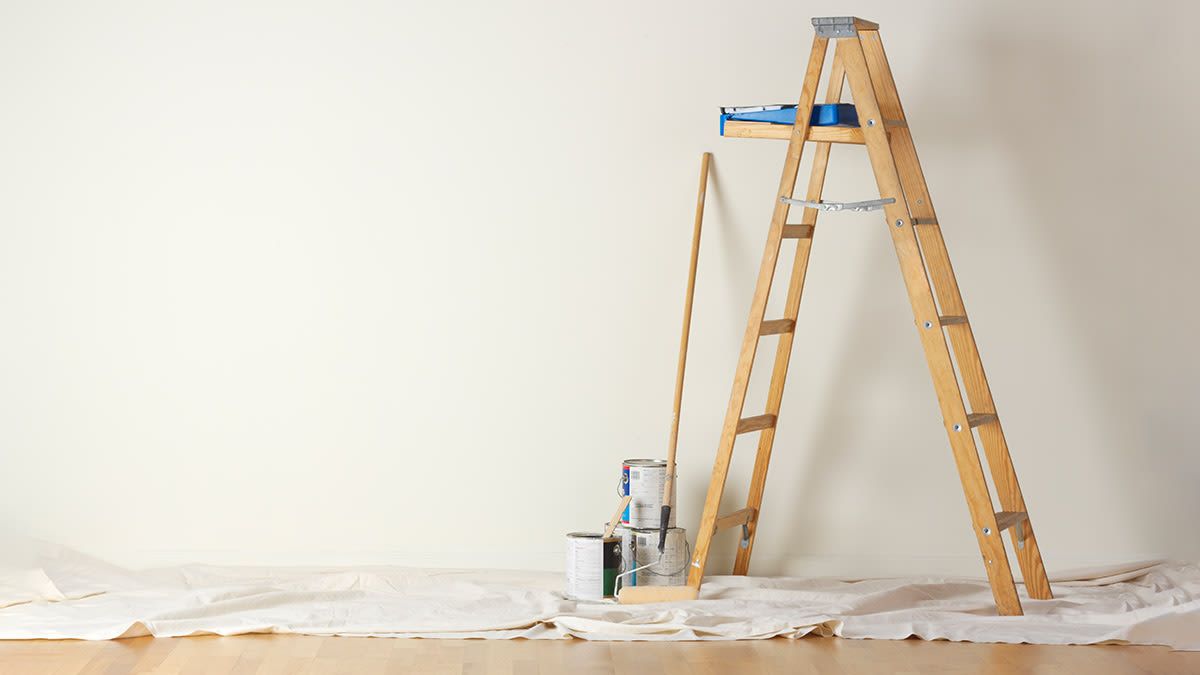
Before you dive into prepping your walls, it’s essential to clear the room as much as possible. Move furniture, decorations, and other items away from the walls to create ample workspace. If you can’t remove larger items, be sure to cover them with plastic sheets or drop cloths to protect them from dust and splatters.
Step 2: Clean the Walls
Cleaning the walls is the crucial first step to ensure proper paint adhesion and a smooth finish. Dust, dirt, and grease can create a barrier that prevents the paint from adhering evenly. Follow these steps to clean your walls effectively:
- Dust: Start by dusting the walls using a soft cloth or a duster. This will remove loose dirt and cobwebs.
- Wash: Mix a solution of mild detergent and water. Using a sponge or cloth, gently scrub the walls to remove grime, fingerprints, and any stains. Be cautious not to oversaturate the walls, especially if they are painted with flat paint.
Step 3: Patch Holes and Imperfections
Before you begin patching, closely inspect your walls for any holes, cracks, or imperfections. Addressing these issues ensures a smooth and seamless paint application. Here’s how to proceed:
- Fill Holes: Use a lightweight spackling compound to fill nail holes and small cracks. Apply the compound with a putty knife, then smooth it down for a flush finish.
- Repair Larger Holes: For larger holes, use a patching kit that includes a self-adhesive patch. Place the patch over the hole, apply joint compound, and feather the edges for a smooth blend.
- Sand: Once the patched areas are dry, sand them lightly to create a level surface. This will prevent noticeable bumps under the new paint.
Step 4: Sand the Walls
Sanding the walls is essential for creating a smooth and uniform surface. Sanding not only removes imperfections but also helps roughen the existing paint slightly, promoting better paint adhesion. Follow these steps:
- Choose the Right Grit: Use medium-grit sandpaper (around 120-150 grit) for the initial sanding. You can switch to finer grit (220) for a final pass to create an ultra-smooth surface.
- Sand Lightly: Sand the walls in even strokes, applying gentle pressure. Be sure to sand the patched areas, as well as any rough or glossy spots on the existing paint.
- Wipe Clean: After sanding, wipe down the walls with a damp cloth to remove the dust. Allow the walls to dry completely before moving on to priming.
Step 5: Prime the Walls
Priming is a crucial step that should not be skipped. Primer helps to create a consistent surface for the paint and enhances its adhesion, ensuring a longer-lasting finish. Here’s how to properly prime your walls:
- Choose the Right Primer: Select a high-quality primer that suits the type of paint you’ll be using (latex or oil-based). If you’re covering dark or bold colors, consider using a tinted primer to improve coverage.
- Apply Evenly: Use a roller or brush to apply the primer in smooth, even strokes. Start from the top and work your way down.
- Allow to Dry: Follow the manufacturer’s instructions for drying time. In most cases, the primer will be dry to the touch within an hour or two.
Quality Prepping for Spectacular Results
Properly preparing your walls for painting is the foundation for achieving a flawless and professional finish. Each step, from cleaning to priming, contributes to the overall quality and longevity of your paint job. While tackling a DIY paint project can be rewarding, remember that complex jobs, intricate textures, or high ceilings might require professional expertise to ensure the best results.
At Sunshine Painting, we understand the significance of proper preparation in achieving a paint job that stands the test of time. Our team of experienced professionals is equipped to handle a wide range of painting projects, from residential to commercial, ensuring each surface is prepped and painted to perfection. Contact us today and let’s transform your space with a touch of sunshine.